


Why Mobile Application Testing is Critical for Improving User Experience and Boosting Business Success
664 days ago
Mobile Applications
Mobile Applications


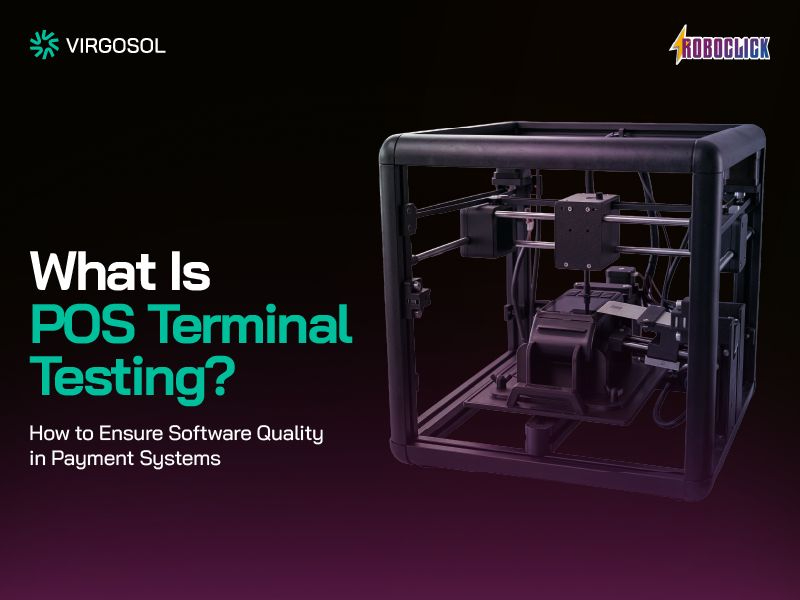
What Is POS Terminal Testing? How to Ensure Software Quality in Payment Systems
20 days ago
#POSTesting #PaymentSystems #SoftwareQuality #TestAutomation #Fintech #EMV #RoboClick #Virgosol
#POSTesting #PaymentSystems #SoftwareQuality #TestAutomation #Fintech #EMV #RoboClick #Virgosol
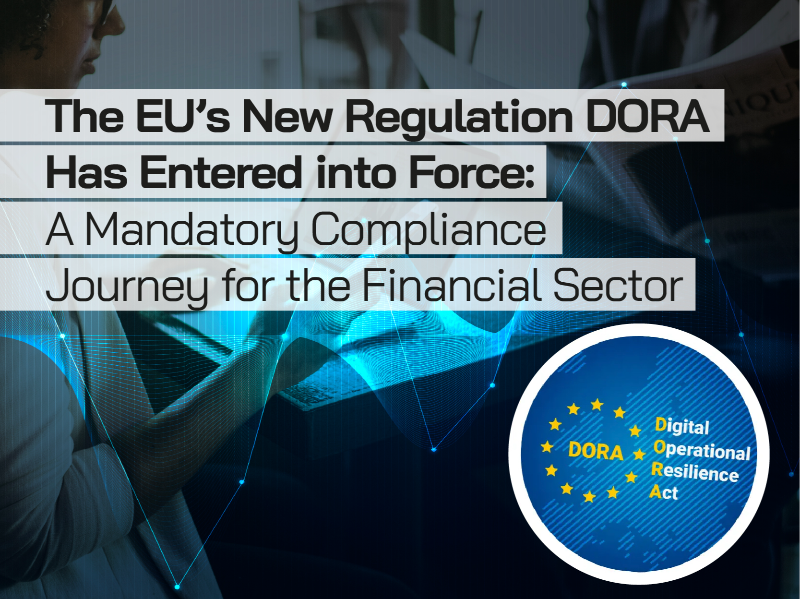
The EU’s New Regulation DORA Has Entered into Force: A Mandatory Compliance Journey for the Financial Sector
44 days ago
#DORA #DigitalResilience #OperationalResilience #CyberSecurity #FinTech #Finance #Banking #Compliance #RegTech #RiskManagement #Virgosol #QualityAssurance #TestAutomation #PerformanceTesting
#DORA #DigitalResilience #OperationalResilience #CyberSecurity #FinTech #Finance #Banking #Compliance #RegTech #RiskManagement #Virgosol #QualityAssurance #TestAutomation #PerformanceTesting
Test-Drive Methodologies: TDD, BDD, and ATDD
117 days ago
tdd, bdd, atdd, TestDrivenDevelopment, BehaviorDrivenDevelopment, TestOrientedDevelopment
tdd, bdd, atdd, TestDrivenDevelopment, BehaviorDrivenDevelopment, TestOrientedDevelopment